How to Clean Grout Lines Without Damaging the Joint


You've mopped the bathroom, but the grout still looks dark. You reach for a stronger cleaner, then notice that some joints look stained while others seem deeper than they used to. Those aren't necessarily the same problem.
For homeowners and renters in Fairhope and across the Eastern Shore, knowing how to clean grout lines starts with knowing when not to scrub. Sweet Home Cleaning Service recommends identifying the condition of the joint before choosing a chemical, especially in bathrooms where Gulf Coast humidity makes drying difficult.
Table of Contents
- Diagnose the Stain Before You Scrub
- Choose a Cleaner and Set Chemical Limits
- Clean, Rinse and Dry Grout Step by Step
- How Often to Reseal Grout
- Keep Humid Bathrooms From Growing Mildew Again
- Decide Whether to Clean Grout Yourself or Book a Pro
Diagnose the Stain Before You Scrub
At Sweet Home Cleaning Service, a house cleaning and maid service based in Fairhope, AL, the first question about any dark grout line is what's causing it. Dark doesn't automatically mean dirty, and a stronger cleaner won't rebuild missing grout.
Start with a dry inspection under bright, angled light. Look for cracks, low spots, loose grains and gaps beside tile edges. A recurring concern in this homeowner discussion about grout cleaning is distinguishing discoloration from deteriorated joints, a useful reminder that cleaning advice isn't a substitute for inspecting the material.
Match the symptom to the next action
Grout symptoms, likely causes and next actions
| Symptom | Likely cause | Next action |
|---|---|---|
| Dark line that stays after a proper clean | Embedded staining or mineral deposit | Repeat the alkaline clean once, then test a small area before changing products |
| Crumbly, sandy or recessed joint | Eroded or failed grout | Stop scrubbing and plan a repair before cleaning |
| Cracked joint or soft spot underfoot | Possible structural or water damage | Dry the area and arrange evaluation and repair before chemical treatment |
| Black or green growth that returns within days | Suspected mildew with ongoing moisture | Fix ventilation and any leak first; reserve diluted bleach for compatible nonporous tile |
| Haze or sticky film after rinsing | Leftover cleaner or soap film | Extract the solution and rinse again with clean water |
| Chalky white film that wipes off dry | Possible efflorescence from moisture | Dry-brush gently, rinse and check the moisture source |
These are working diagnoses, not proof from appearance alone. White residue might also be construction residue or cleaner buildup. Black discoloration doesn't identify a particular organism.
In a Spanish Fort shower or Orange Beach rental bathroom, growth that quickly returns deserves a moisture investigation rather than another round of aggressive brushing. Renters should photograph damaged joints and notify the property manager before attempting repairs.
Practical rule: Clean only what cleaning can fix. Record where the discoloration appears, whether the joint is intact and what changed after the test clean before trying anything stronger.
Choose a Cleaner and Set Chemical Limits
For ordinary soil, start with a tile-compatible neutral detergent or alkaline grout cleaner. Most traditional cement grout is porous, unlike the adjacent glazed tile. The Tile Council of North America recommends alkaline cleaners rather than acids because acids can attack the cement binder; it also cautions against oil- and wax-based cleaners that grout can absorb.
Neutral detergent is a sensible first test on an unidentified joint. An alkaline product can be more useful for body-oil film and tracked-in soil, provided its label permits both the grout and the surrounding tile. Epoxy and premixed grout need their own manufacturer's care instructions.
Compare the cleaner with the whole surface
Grout cleaners compared by use and risk
| Cleaner type | Best for | Avoid on | Notes |
|---|---|---|---|
| Alkaline tile-and-grout cleaner | Routine soil and body-oil film on cement grout | Acid-sensitive natural stone unless explicitly approved | Follow labeled dwell time, then extract and rinse |
| Neutral pH tile detergent | Light cleaning on glazed tile and epoxy grout | Any untested or manufacturer-excluded surface | Sensible first test on unknown joints |
| Diluted household bleach | Mildew treatment on compatible hard, nonporous tile | Surfaces containing ammonia, acids or toilet-bowl cleaner residue | Use the surface-specific label dilution, not a stronger mixture |
| Vinegar or other acids | Limescale on compatible glazed tile only | Cement grout and natural stone | Keep away from joints; repeated exposure can weaken cement |
| Oil- or wax-based products | Nothing on grout | All grout types | Can leave an absorbed film that holds dirt |
| Baking soda paste | Light scrubbing on small, compatible spots | Porous joints where paste can lodge | Remove the paste completely and rinse thoroughly |
For hard, nonporous surfaces, the CDC's mold-cleanup guidance limits diluted household laundry bleach to no more than 1 cup per gallon of water. That's not a universal porous-grout recipe, and ordinary cleaning doesn't automatically require bleach.
Stone beside the joint changes the decision. For marble surrounds or renovation planning, Varun Marbles' stone care guidance for renovation planners offers additional context for approaching hard-water marks without treating stone like glazed ceramic. Our explanation of whether vinegar disinfects surfaces also helps separate a familiar household ingredient from a suitable cleaning product.
Keep chemical systems separate
Never mix bleach with ammonia, toilet-bowl cleaners, rust removers, vinegar or other acids. An EPA-registered bleach-cleaner label warns that hazardous gases can result and specifies 10 minutes of contact time for that particular product on hard, porous surfaces such as grout and cement before rinsing. Don't transfer that timing to a different bottle.
Ventilate, wear suitable gloves and use only one chemical system at a time. Longer contact isn't automatically better, especially if the product dries.
Apply a small amount to a hidden joint, wait the labeled time, rinse and let it dry. Check for persistent color change, softening or a dulled tile finish before proceeding.
Clean, Rinse and Dry Grout Step by Step
A Daphne bathroom can look reasonably clean while its grout stays dim. Scrubbing harder feels productive, but controlled application and thorough soil removal usually deserve attention first.
Set out a vacuum, narrow nylon grout brush, compatible cleaner, clean microfiber cloths, rinse water and a wet/dry shop vacuum if available. Keep a separate container for dirty cloths so you don't wipe loosened grime back into the joint.
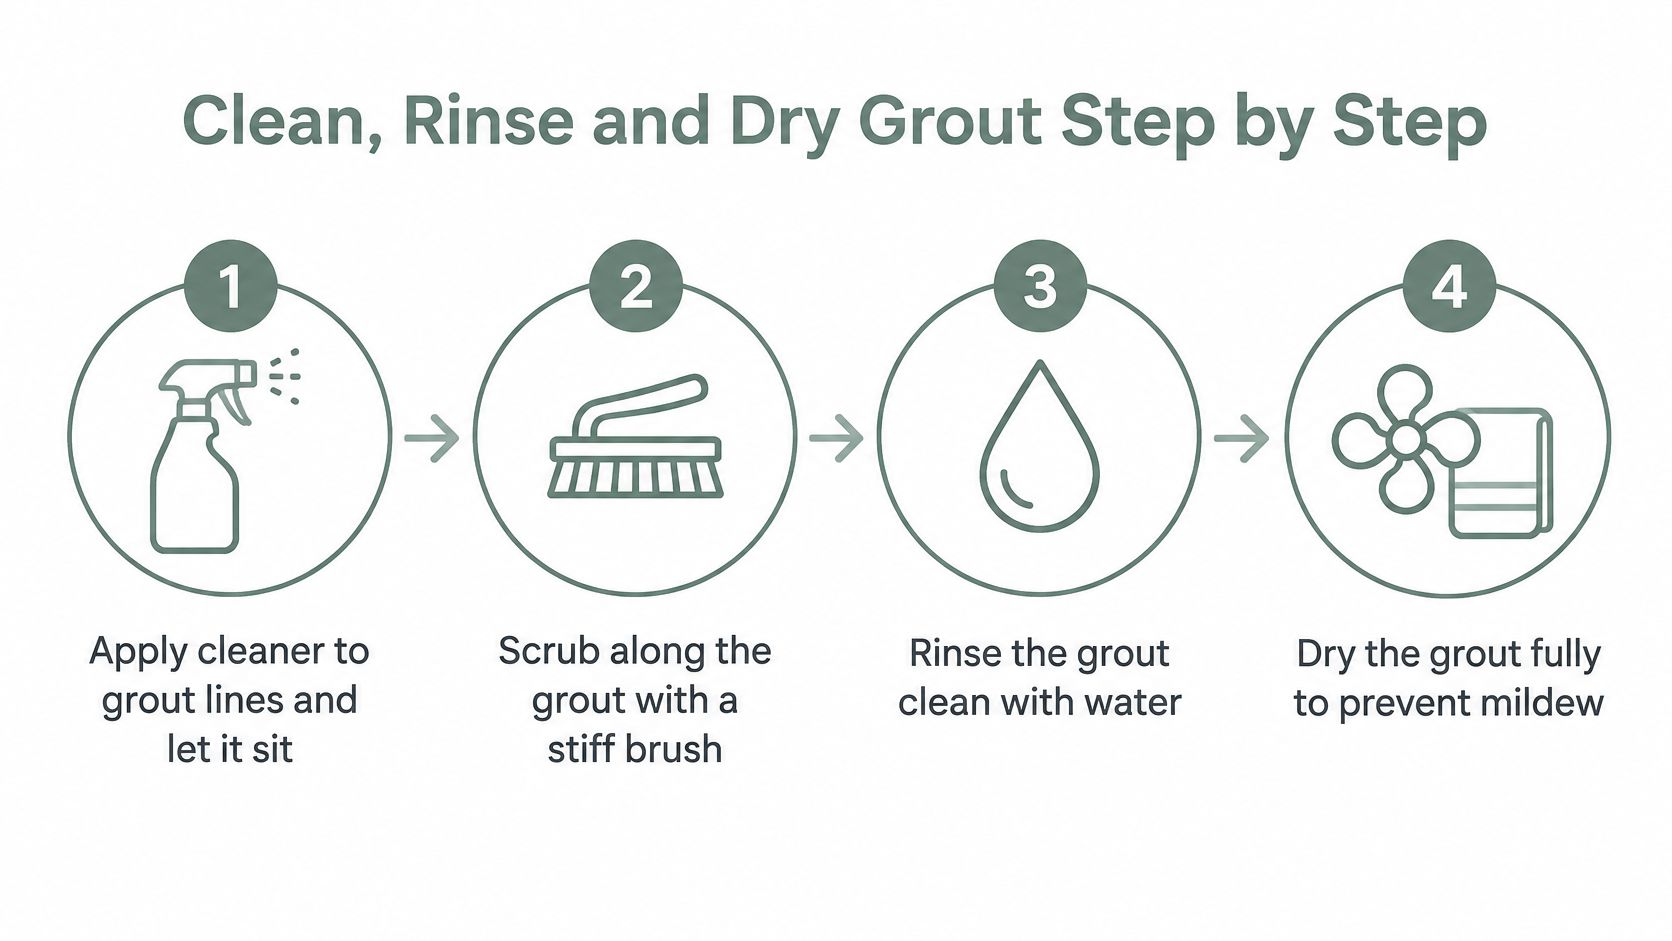
Work in manageable patches
Remove loose grit. Vacuum floor joints and edges or sweep carefully before adding liquid. Beach sand tracked into Gulf Shores homes is easier to collect dry than after you've worked it into a muddy film.
Test a hidden joint. Use the chosen cleaner on an inconspicuous patch and inspect it after rinsing and drying. Cement, epoxy and premixed grout aren't interchangeable; stop if brushing releases grains or exposes a deteriorated joint.
Apply precisely. Use a controlled spray or applicator to wet the grout without flooding the floor. On shower walls, work in short sections and catch runoff instead of letting it collect around fixtures or damaged corners.
Allow the labeled dwell time. Set a timer rather than guessing. Don't leave the room and allow the cleaner to dry into the joint; reduce the working area if you can't brush and collect it before drying begins.
Agitate with nylon bristles. Brush along the line with moderate pressure, paying attention to edges rather than repeatedly grinding one spot. Skip wire brushes and aggressive powered attachments that make it difficult to control pressure.
Collect the dirty solution. A wet/dry shop vacuum removes suspended soil from recessed floor joints. For a small bathroom or vertical surface, use absorbent cloths, changing to clean faces frequently rather than pushing the same dirty rag around.
Rinse and collect again. Apply clean water sparingly, then vacuum or wipe it away. A damp mop alone can leave dirty liquid in low joints, so inspect the rinse water and change it when it becomes cloudy.
Dry thoroughly. Use ventilation and, where electricity is safe, a fan or dehumidifier. Don't interpret temporarily dark, wet grout as a failed clean or immediately cover it with sealer.
Assess absorption after drying. Check representative joints with a small water test before deciding whether sealing belongs in the maintenance plan. Don't assume every grout type accepts or needs sealer.
Inspect the finished surface. Shine a light across corners, transitions and the busiest walking route. Repeat cleaning only where removable soil remains, not wherever an old stain or original color variation is still visible.
Judge the result after moisture has cleared
For suspected surface mildew, the EPA's mold-cleanup guide recommends scrubbing hard surfaces with detergent and water and drying completely; it doesn't recommend chlorine bleach as routine mold-cleanup practice. Porous materials can retain growth that surface cleaning can't fully remove, so persistent trouble calls for evaluation rather than repeated bleaching.
After substantial wetting, prioritize drying instead of waiting to inspect. The CDC's mold-prevention guidance advises drying a home as quickly as possible, within 24–48 hours when possible during disaster cleanup. That's a drying target, not an instruction to leave freshly cleaned grout wet.
For another practical walkthrough, Trademaster Construction's grout cleaning tips provide a useful companion reference. When the surrounding surfaces also need attention, use our guide to cleaning bathtubs and showers to plan the whole bathroom without overlapping incompatible products.
A finished joint should feel free of residue and show no remaining removable soil. Perfectly identical color isn't a realistic promise when grout is stained, patched or aged.
How Often to Reseal Grout
Use condition, grout type and manufacturer guidance together, not a calendar alone. Cement grout may benefit from a compatible penetrating sealer; epoxy and some premixed products have different requirements. Sealer won't rebuild a cracked joint or correct water entering behind tile.
For cement-based grout, typical maintenance guidance places high-traffic resealing around 6–12 months and low-traffic resealing around 2–3 years, subject to use and product instructions. Treat these as inspection reminders rather than automatic application dates.
Test absorption on dry grout
Place a few drops of water on representative joints, including a corner and a frequently used area. Watch whether the water remains on the surface or quickly absorbs and darkens the grout. Compare multiple locations because traffic and previous cleaning may have affected them differently.
Fast absorption suggests that compatible cement grout may need sealing. Slow absorption is a reason to keep monitoring, not a reason to add another coat immediately. There's no universal stopwatch threshold for every grout and sealer combination.
Reseal intervals by traffic level
| Area | Typical reseal interval | Trigger |
|---|---|---|
| High-traffic floors and shower areas | About every 6 to 12 months | Fast darkening during the water test |
| Low-traffic joints | About every 2 to 3 years | Monitor slow absorption; reseal when protection declines |
| Routine cleaning frequency | Set by household traffic and visible buildup | Soil, soap film or tracked-in grit appears |
Clean, dry, repair, then seal. Follow the sealer's application and curing instructions, remove excess from adjacent tile and keep the area out of use as directed. Applying more product than the joint can absorb can leave residue on the tile.
Renters should obtain permission before applying a sealer. In older Eastern Shore homes, identify the existing grout and finish first rather than assuming an unfamiliar joint needs the same treatment as a newer bathroom.
Keep Humid Bathrooms From Growing Mildew Again
Moisture control makes the cleaning last. If a bathroom stays damp between showers, changing the cleaner won't address the reason discoloration keeps returning.
The EPA recommends indoor relative humidity between 30% and 60%, bathroom exhaust fans that vent outdoors, and drying damp building materials within 24–48 hours to help prevent mold growth. In Fairhope, Daphne and Gulf Shores, pair bathroom cleaning with ventilation and prompt leak repair rather than treating it as an isolated surface job.

Make drying part of the household routine
- After showers: Squeegee wet walls and wipe accessible ledges with microfiber. Leave the shower enclosure positioned to allow air circulation.
- During and after bathing: Run the exhaust fan until the mirror and grout are dry. A fan that makes noise but doesn't remove moisture needs attention.
- During regular bathroom checks: Inspect corners, window sills, plumbing connections and caulk for recurring wetness or deterioration.
A slow leak or failed caulk calls for repair, not a heavier application of cleaner. Don't cover a persistently damp joint with fresh sealer.
For Orange Beach vacation rentals, bathroom turnover planning should include enough opportunity for surfaces to dry before guests arrive. A lingering odor also deserves investigation; our guide to getting rid of mildew smell in the house can help you identify places to check.
Leave the bathroom dry, not simply freshly washed.
Decide Whether to Clean Grout Yourself or Book a Pro
A small bathroom with intact joints and a test patch that lightens is a fair DIY job. A large tiled floor, or a shower that darkens again because it stays wet, takes more than one afternoon of scrubbing.
Match the helper to the failure. Crumbling joints and movement underfoot need a qualified repair specialist. Moisture that stays in the same joint is a repair. A cleaning visit will not rebuild failed grout. If the tile has to come out, The Cabinet Coach on bathroom tile covers how a remodel treats the surfaces around those joints.
Book a pro when time or scope is the limit
Sweet Home Cleaning Service offers standard house cleaning, deep cleaning, and move-in/move-out cleaning. Standard cleaning is routine upkeep of surfaces, floors, bathrooms, and kitchens. Deep cleaning fits a home that needs a full refresh or has not been cleaned in a while. Recurring service runs every week, every two weeks, or every three weeks, and a plan can focus on high-traffic areas or a more detailed clean.
The team is fully trained, background-checked, and insured. Name the rooms, flag damaged spots, and say which products to use. You can send that ahead, or leave the products on the kitchen counter with a note.
Check the line before you scrub or before you book. Soil on sound grout can stay a DIY job or a routine visit. Mildew tied to dampness needs the moisture addressed. Failed grout needs repair, not another pass with bleach or acid.
Homeowners and renters in Fairhope, Daphne, Spanish Fort, Orange Beach, Gulf Shores, and nearby communities on the Eastern Shore and in South Baldwin County can visit Sweet Home Cleaning Service to book and describe the grout.

Let us handle the cleaning. Enjoy your home.



Sweet Home Cleaning Service
19940 State HWY 181, Suite E Fairhope, AL 36532
Phone: (251) 586-4081
sales@sweethomecleaningservice.com