How to Clean Bathtubs and Showers: Steps for Every Surface


The tub looks reasonably clean, but the grout has turned grey and the shower door feels rough when you wipe it. After a humid week in Fairhope, that's a familiar bathroom problem. More spray won't necessarily fix it, especially if the room stays damp after every shower.
Sweet Home Cleaning Service, a house cleaning and maid service based in Fairhope, AL, approaches bathroom upkeep as both soil removal and moisture control. Learning how to clean bathtubs and showers means choosing a cleaner that won't damage the finish, giving it time to work, and leaving less water behind.
Table of Contents
- Set Up the Bathroom and Know the Cleaning Order
- Routine cleaner and tool for each tub and shower surface
Set Up the Bathroom and Know the Cleaning Order
Use this order: remove soap and grime, control the water that keeps surfaces damp, clean visible mold with clean water and detergent, and dry everything completely. Don't start with the strongest bottle under the sink.
The U.S. Environmental Protection Agency's guidance on biological contaminants emphasizes correcting moisture problems, cleaning visible mold with water and detergent, and drying the area. A dripping faucet or leaking shower connection needs attention, not another coating of cleaner.
- Get air moving. Open a door or window when conditions allow, and run the exhaust fan if it vents outdoors. Keep ventilation going while you clean and afterward.
- Clear the enclosure. Remove shampoo bottles, razors, loofahs, and bath mats. Check underneath bottles, where wet soap residue often collects.
- Set out your kit. Use separate buckets for cleaning solution and rinse water, microfiber cloths, a soft nylon grout brush, a nonabrasive sponge, and a squeegee. Keep mild dish soap, baking soda, and white vinegar available, but don't combine them indiscriminately. Wear rubber gloves and use eye protection with stronger products.
Homes in Daphne, Spanish Fort, and Gulf Shores face much the same damp-bathroom pattern. Sweet Home Cleaning Service includes this preparation in recurring maid service and deep cleaning, rather than working around bottles and missed corners.
A workable house cleaning schedule helps keep residue manageable. Choose the cleaner by the surface beneath that residue.
Pick a Cleaner That Suits Each Surface
The material decides the cleaner. A product that removes mineral film from plain glass can damage marble beside it, and a scrubbing pad that works on tile can leave acrylic cloudy.
Sweet Home Cleaning Service uses non-toxic, eco-conscious products where applicable. In practical terms, non-toxic means choosing lower-hazard ingredients, not assuming a product has zero risk or suits every finish.
Routine cleaner and tool for each tub and shower surface
| Surface | Everyday cleaner | Tool | Avoid |
|---|---|---|---|
| Acrylic tub and shower walls | Mild dish soap in warm water | Soft microfiber cloth | Magic erasers, abrasive powders, strong acids |
| Fiberglass tub | Mild liquid soap; baking soda paste for spots if the manufacturer permits | Nonscratch sponge | Scouring pads, bleach concentrate, abrasive powders |
| Glazed porcelain or ceramic tile | pH-neutral tile cleaner, or 1:1 vinegar and water after a hidden-spot test | Soft brush or microfiber | Muriatic or strong acids, steel wool |
| Grout lines | Baking soda paste with a few drops of dish soap | Soft-bristle grout brush | Wire brushes, frequent acid use on cement grout |
| Natural stone or marble | pH-neutral stone cleaner | Soft cloth | Vinegar, lemon juice, citrus cleaners |
| Glass shower doors | Squeegee after use; vinegar and water for film | Squeegee and microfiber | Abrasive pads; harsh cleaners on tinted or coated glass unless labeled |
| Chrome and brass fixtures | Mild soap and water; vinegar for chrome mineral film only when permitted | Microfiber cloth | Abrasive cleaners, bleach, polishes on lacquered brass |
For acrylic, let the soapy cloth lift the soil rather than increasing pressure. On fiberglass, spot-test baking soda paste and stop if the finish changes. Glazed tile may tolerate a cleaner that adjoining grout, trim, or damaged glazing won't.
Keep acidic cleaner off stone and minimize its contact with cement grout. For coated glass and decorative fixtures, the manufacturer's care instructions take priority over a homemade recipe.
Practical rule: Test the cleaner and the tool together. A suitable liquid won't protect a finish from an abrasive pad.
New Mexico State University's household-cleaning guide explains why product selection and correct application matter. Measure dilution as directed, follow the listed wet time, and rinse when required. Never mix cleaning products, especially bleach with other chemicals.
How to Clean a Tub or Shower Step by Step
Work from the upper walls toward the drain, then finish with drying. Keep your rinse water clean so you're removing loosened residue rather than spreading it around.
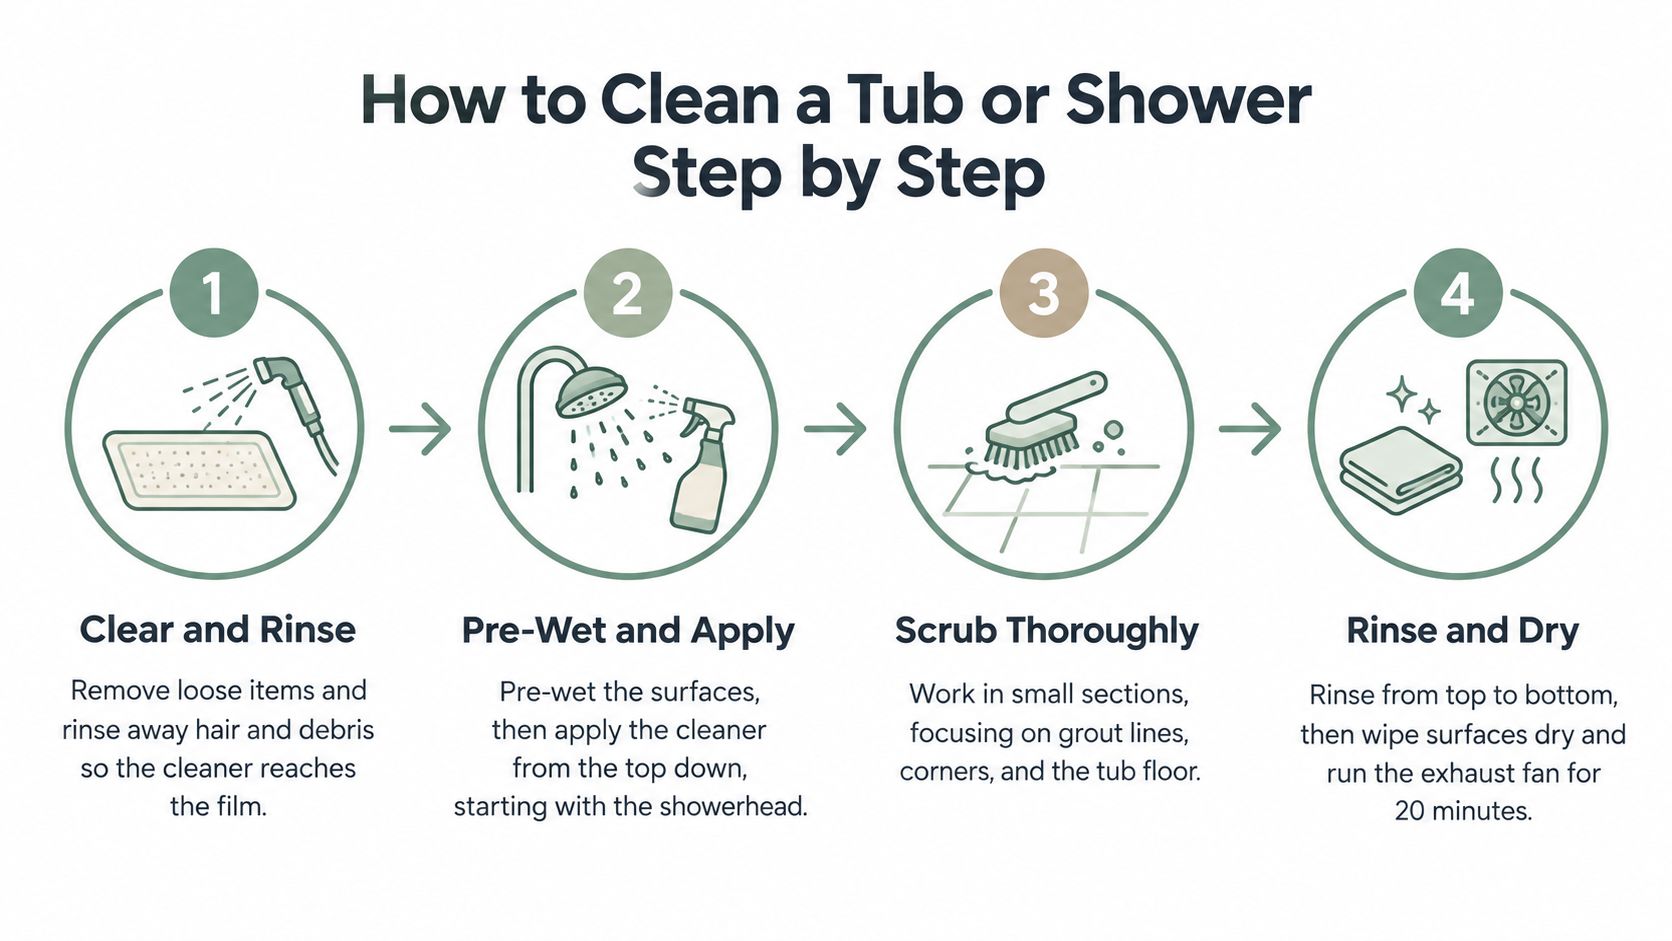
Wash the enclosure without wearing away the finish
Clear and rinse. Remove loose items, then pick up hair and tracked-in beach sand before rinsing away remaining debris. Grit caught under a cloth can scratch the surface you're trying to clean.
Pre-wet and apply. Unless the cleaner requires a dry surface, lightly wet the enclosure and apply cleaner from the showerhead area down through the walls and corners. Keep overspray off incompatible trim and nearby stone.
Let the cleaner penetrate. Give stubborn soap film the label's recommended dwell time without allowing the product to dry. A compatible foam or thick gel stays on vertical walls better than a thin spray that immediately runs into the tub.
Agitate gently. Use a soft brush along grout lines and a nonabrasive pad on compatible tile. Leave the tub floor and ledges until last because they collect dirty runoff; in older Eastern Shore homes with original grout, test gently before scrubbing a broad area.
The American Cleaning Institute's hard-surface cleaning guidance supports matching the product to the soil, allowing penetration, using nonabrasive agitation, and rinsing thoroughly. If a patch doesn't release, reassess the deposit and material instead of reaching automatically for a rougher pad.
Finish the details and remove the water
Clean fixtures and glass. Use a separate cloth for faucets, handles, the drain cover, and the door track. Fold the cloth to expose clean faces, and use a soft brush in accessible track corners without forcing debris into drainage openings.
Rinse from top to bottom. Flush loosened cleaner and soil toward the drain with clean water. Check underneath the faucet and along the wall-to-tub joint, where suds often remain.
Squeegee and wipe dry. Pull water down the walls and glass, then dry the remaining droplets with microfiber. Wipe the tub floor carefully so you don't leave standing water or a slippery cleaner film.
Inspect the drain, overflow, and caulk. Remove accessible surface residue without dismantling concealed plumbing. Note gaps, peeling caulk, or dampness outside the enclosure so the underlying defect gets repaired.
Flush a rarely used shower before use. Run it normally to clear standing water, following any building or plumbing guidance that applies. Don't experiment with unusually hot water or chemical flushing.
Remove and clean a removable head. Check the manufacturer's instructions before disconnecting it. Protect the finish, retain the washer, and use only an approved descaling method; don't assume every plated head can soak in vinegar.
Inspect the hose and connections. Look for cracks, kinks, leaks, corrosion, and damaged seals. Replace a worn hose rather than trying to solve physical deterioration with cleaner, and avoid overtightening fittings when reconnecting.
Rinse, check, and dry. After reassembly, run the shower and inspect connections for leaks. Wipe the head's exterior and spray face after bathing, leaving it positioned to drain where the design allows.
- After each shower, squeegee walls and glass toward the drain.
- Before leaving the bathroom, wipe ledges, fixtures, and pooled water dry.
- Weekly, wash walls, glass, and fixtures with the appropriate cleaner.
- Monthly, give grout and accessible drain surfaces closer attention and inspect caulk for gaps.
- Seasonally, schedule a deeper clean, including spring pollen collected on window sills and dusty areas around the enclosure.
For planning, reserve an uninterrupted cleaning block rather than squeezing this between showers. A lightly soiled enclosure needs less attention than layered mineral buildup, and neither benefits from rushing the product's dwell time.
For Gulf Shores and Orange Beach rental hosts, a written checkoff prevents small details from being missed during turnovers. Facility Management Insights offers a way to organize restroom cleaning and inspections; adapt the inspection approach to household fixtures rather than treating every bathroom as a commercial facility.
Fixing Stains, Mildew and Hard-Water Film
A mark that survives ordinary washing isn't always leftover dirt. Identify the symptom before changing products, particularly when you're working with worn finishes.
Common tub and shower problems, causes and fixes
| Symptom | Likely cause | First fix |
|---|---|---|
| Pink or orange film at tub edge and drain | Damp soap residue | Mild soap, rinse and dry; repeat weekly |
| Black or grey spots in grout lines | Mold in damp grout | Baking soda paste and soft brush; see disinfecting guidance for stubborn spots |
| Chalky white haze on glass or tile | Hard-water mineral deposits | Vinegar and water cloth for 15 minutes on compatible glass; test tile first |
| Dull, cloudy acrylic | Abrasive scrubbing or harsh chemicals | Stop abrasives; mild soap and microfiber; professional refinishing for deep wear |
| Yellowed grout | Oils, soap residue and age | Baking soda paste; professional regrouting if stains remain |
| Rust streaks under fixtures | Iron in water or corroded parts | Rust-specific product tested on a hidden spot |
| Weak or uneven shower spray | Mineral buildup or aging hose | Descale removable head per manufacturer; replace worn hose |
For black or grey grout spots, start gently and dry the area afterward. If staining remains after two careful attempts, ask a tile contractor whether the grout needs repair or replacement.
Cloudy acrylic may be scratched rather than dirty. Stop abrasive cleaning; mild soap won't reverse deep wear, but it avoids making it worse.
For chalky glass, keep the vinegar cloth off adjoining stone and vulnerable trim, then rinse and dry. Praz Pure Water, Inc. explains approaches to clean calcium buildup from surfaces, but compatibility still governs what belongs in your enclosure.
Visible surfaces aren't the whole maintenance job: a 2025 controlled study of 48 full-size shower units found peak biofilm biomass at four weeks, with Legionella pneumophila appearing at four weeks and reappearing in larger numbers from about 22 weeks, while Mycobacterium species increased after 30 weeks; organisms were particularly enriched in showerheads and hoses.
Clean the Showerhead and Hose
The tile, glass, and tub can look clean while the showerhead and hose retain moisture and internal buildup. External wiping alone doesn't address those hidden areas.
That doesn't mean ordinary showers are automatically dangerous. It does mean the head and hose deserve their own maintenance check, especially in an older Fairhope home or an Eastern Shore guest bathroom that sits unused.
Give the fittings their own routine
A clean-looking showerhead isn't proof that its internal passages are clean. Follow the fitting manufacturer's maintenance method, not a stronger improvised treatment.
Maintenance deserves attention both when a system enters use and as fittings age. People with weakened immune systems or certain chronic conditions may need more cautious maintenance and advice from a qualified professional. Cleaning isn't a substitute for individualized guidance, and aggressive chemical treatment isn't a sensible default.
Knowing When Disinfecting Is Worth It
Disinfecting every tub after every wash usually adds work without addressing the main problem. Detergent, mechanical scrubbing, and an appropriate mineral cleaner handle routine soil; disinfectant doesn't replace those steps.
When to clean, disinfect or do both
| Situation | Cleaning enough? | Disinfectant needed? | Wet contact time |
|---|---|---|---|
| Routine soap scum, body oils and mineral film | Yes | No | Not needed; rinse after scrubbing |
| Normal household use, no illness | Yes | Usually no | Follow label if a product is used |
| Someone sick at home or known contamination | Clean first | Yes, EPA-registered product | Full label time |
| Vacation rental turnover between guests | Yes, full clean | High-touch fixtures only | Label time with surface kept wet |
| Floodwater exposure after a storm | Remove mud and debris first | Yes, after physical cleaning | Per label; discard porous materials when appropriate |
Clean first, then disinfect when warranted. Soil can interfere with performance, and wiping disinfectant off immediately prevents the required exposure. Choose an EPA-registered product compatible with the surface and keep it visibly wet for the entire labeled interval.
Where label directions are unavailable, the CDC's bleach guidance specifies 5 tablespoons (1/3 cup) of regular household bleach per gallon of room-temperature water, or 4 teaspoons per quart, with at least 1 minute of wet contact, using appropriate, unexpired bleach generally containing 5%–6% sodium hypochlorite.
Never combine bleach with ammonia, vinegar, acidic bathroom cleaner, or other products. Wear gloves, consider eye protection, open doors and windows, and avoid bleach in an enclosed bathroom. Don't layer it onto another cleaner's residue.
For vacation rental cleaning, focus disinfecting on handles and faucets after the full clean. After storm flooding, contaminated materials and water intrusion may require professional assessment, not ordinary bathroom upkeep. Understanding deep cleaning versus regular cleaning helps distinguish accumulated household soil from a specialized cleanup.
Stop Mildew Between Cleans and Request a Free Quote
If mildew returns quickly in Fairhope, Daphne, or Spanish Fort, check what happens after the shower stops. Wet walls, a damp bath mat, and an ineffective fan can undo a careful cleaning routine.
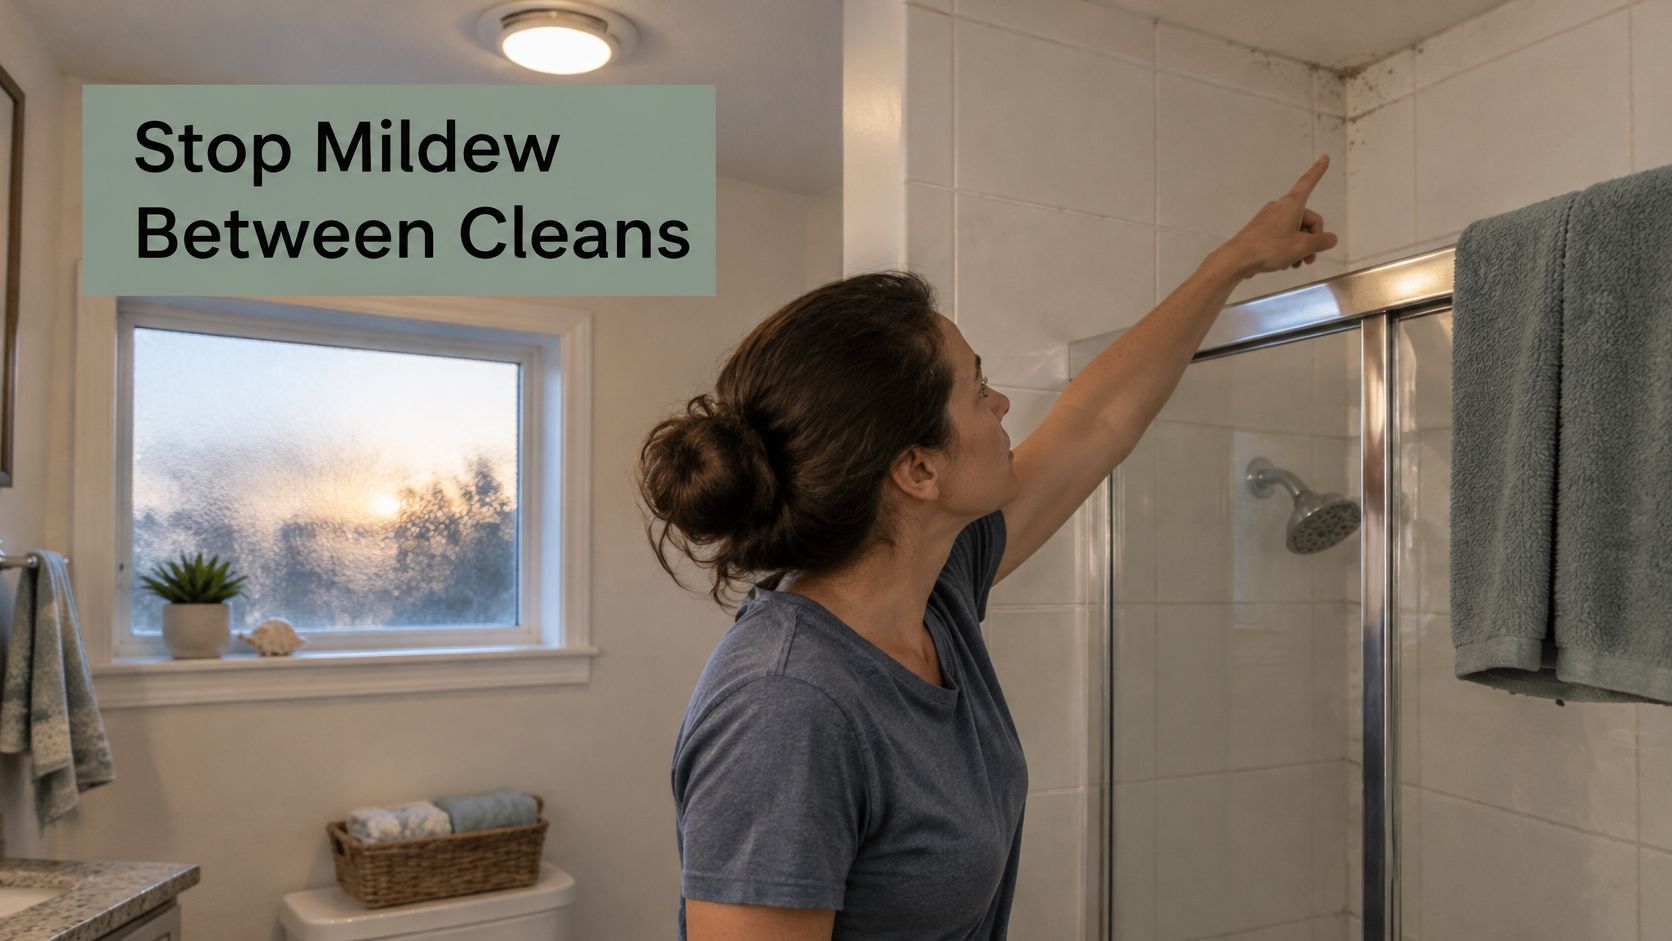
Check humidity and where the fan exhausts
The CDC's mold-prevention guidance recommends keeping indoor humidity no higher than 50% throughout the day, using air conditioning or a dehumidifier as needed. A small humidity monitor makes that something you can check on a weekday evening instead of guessing from how the room feels.
Confirm that the exhaust fan vents outdoors. Run it during bathing and leave it operating until surfaces are dry; if it discharges into the attic, have that corrected before buying another cleaner. Renters should report ineffective ventilation, leaks, and damaged caulk to the property manager.
Background airflow and moisture extraction aren't interchangeable. For context on window ventilation, you can explore trickle vent fitting services from Trickle Vent Installation Costa Blanca, but that overseas service isn't a local referral or a substitute for an outdoor-vented bathroom exhaust fan.
Keep a routine that fits the household
Know when to stop scrubbing: Persistent discoloration, damaged finishes, and water entering the wall need a different solution from surface cleaning.
Grout stains that survive careful cleaning, mildew returning within days, dull acrylic, and water intrusion warrant assessment. Repair leaks or storm damage before arranging cosmetic cleaning; a cleaning visit can't repair grout, restore worn acrylic, or dry concealed building materials.
Sweet Home Cleaning Service offers deep cleaning for accumulated buildup, standard house cleaning for routine upkeep, and recurring maid service on weekly, biweekly, or monthly schedules. A recurring house cleaning service can give busy families time back while keeping bathroom details from becoming a larger project.
Move-in/move-out cleaning suits a change of occupancy, while vacation rental cleaning supports Gulf Shores and Orange Beach turnovers. Choose the service around the condition of the home and how it's used, not just how the shower looks from the doorway.
Sweet Home Cleaning Service offers standard house cleaning, deep cleaning, recurring maid service, move-in/move-out cleaning, and vacation rental cleaning to help keep tubs, showers, and the rest of your home manageable. If you're in Fairhope, Daphne, Spanish Fort, Gulf Shores, or Orange Beach, visit Sweet Home Cleaning Service to book or request a free quote for your Eastern Shore or Gulf Coast home.

Let us handle the cleaning. Enjoy your home.



Sweet Home Cleaning Service
19940 State HWY 181, Suite E Fairhope, AL 36532
Phone: (251) 586-4081
sales@sweethomecleaningservice.com