
Deep Cleaning Kitchen Checklist: 10 Essential Tasks

A kitchen can look spotless while its highest-risk areas remain untouched. In a major household germ survey, more than 75% of dish sponges, sink drains, and cutting boards tested positive for coliform bacteria, including E. coli, which is why a serious reset must reach beyond visible dirt and polished counters. Kitchen cleanliness guidance also highlights sinks, splash zones, cloths, and food-contact surfaces as priorities.
A surface-level wipe-down misses hardened grease beneath cabinet edges, food residue inside door seals, mineral buildup around faucets, dust behind appliances, and grime inside filters. The practical answer is a top-to-bottom workflow. Start with grease-producing and high surfaces, then clean appliances, storage, fixtures, and floors so falling dust and residue don't soil areas you've already finished.
Clear the counters completely before starting. Gather microfiber cloths, small detail brushes, soft scrub pads, material-appropriate cleaners, gloves, a bucket, and labeled containers for items removed from the refrigerator or pantry. Never mix cleaning products, especially bleach and acidic products, and check manufacturer instructions before treating natural stone, finished wood, stainless steel, or appliance interiors.
For households in Alabama's Eastern Shore and South Baldwin County, Sweet Home Cleaning Service can complement a household reset with deep cleaning and home organization support. If the job involves a rental turnover, renovation residue, or a heavily used kitchen, expert deep cleaning in CO, UT, AZ offers useful context on the more demanding end of kitchen cleaning work.
Table of Contents
1. Degreasing Stovetop and Range Hood
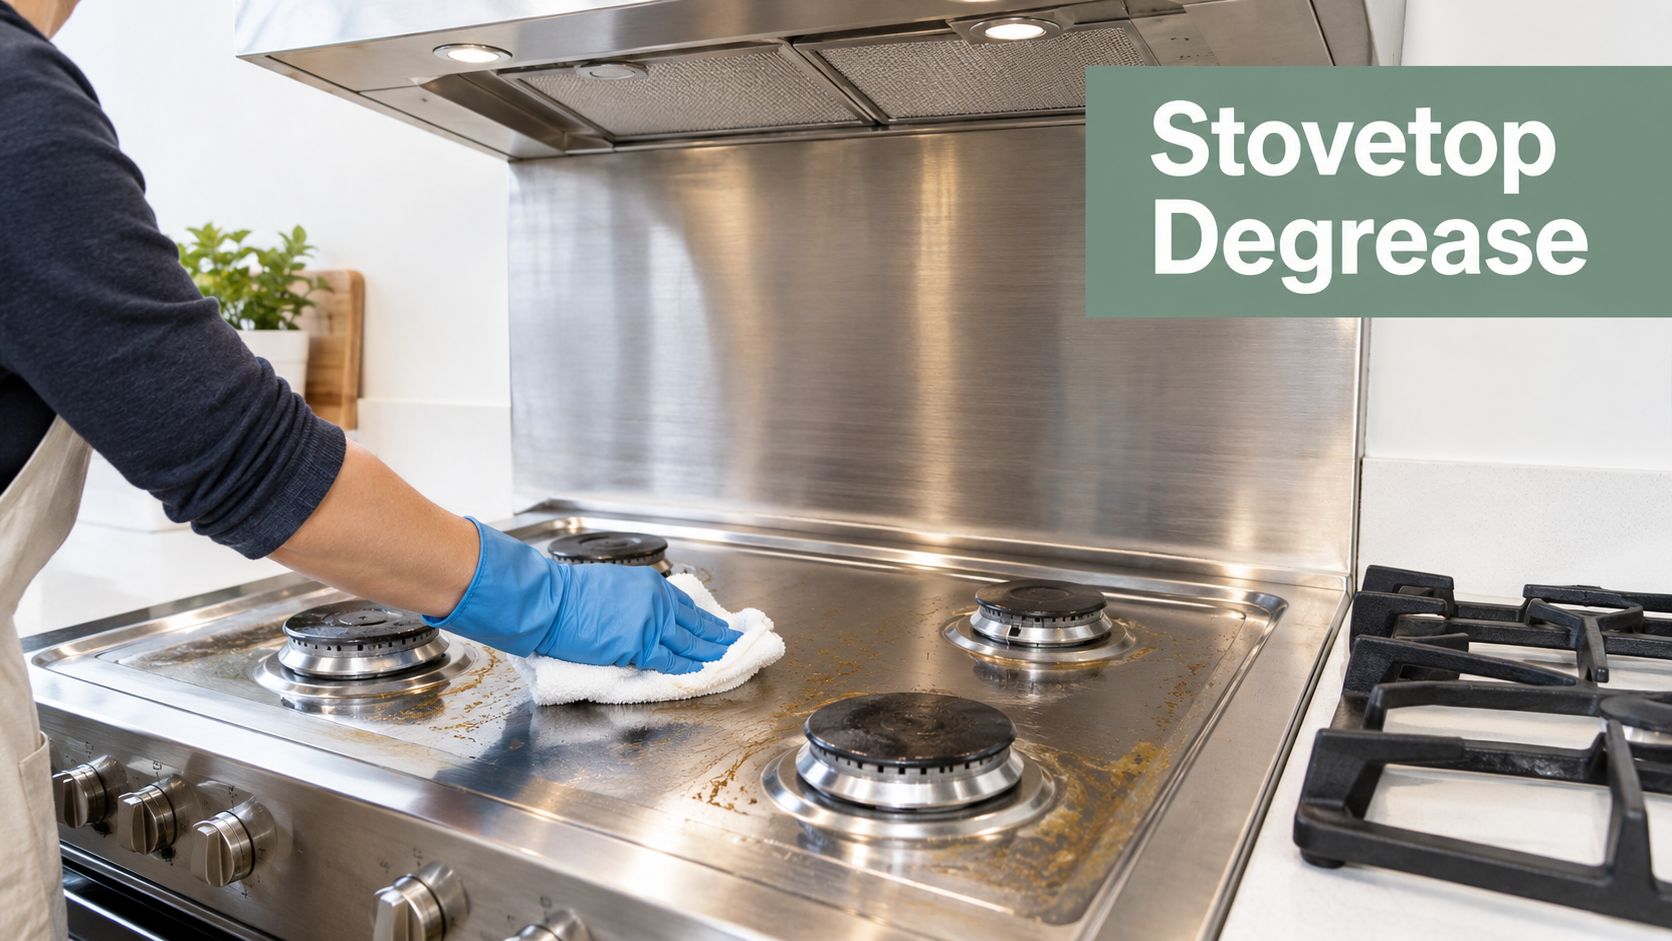
Grease travels upward before it settles. The underside of upper cabinets, burner controls, backsplash edges, range hood housing, and filter mesh can collect a tacky film that a general-purpose spray won't remove. Start at the highest point and work downward, keeping a separate cloth for heavily soiled areas.
Switch off the appliance and let hot components cool. Remove gas grates, electric drip pans, or other detachable parts according to the manufacturer's instructions, then soak them in warm water with a suitable degreaser. A short soak loosens baked-on oil more effectively than aggressive dry scrubbing, but don't leave finishes submerged if the product or appliance manual warns against it.
Break down grease without spreading it
Apply degreaser to a cloth or sponge when working near controls, ignition points, electrical connections, and seams. Microfiber captures loosened oil instead of pushing it across the surface. Use a soft brush around burner caps, knobs, hood edges, and mesh openings, then rinse residue from removable parts and dry everything fully before reassembly.
Practical rule: Clean the hood first, the stovetop second, and the floor beneath the cooking zone last.
Stainless steel needs a non-abrasive product and wiping in the direction of the grain. Painted surfaces, coated grates, and induction glass need gentler treatment than unfinished metal. Avoid metal scouring pads and harsh powders that can scratch or dull the finish.
A quarterly degreasing schedule suits cooking-intensive households, while a quick wipe after cooking keeps buildup manageable between resets. This task is especially useful before new guests arrive at a short-term rental, after a renovation, or during move-in cleaning where previous residents cooked heavily.
2. Refrigerator Interior and Coil Deep Clean
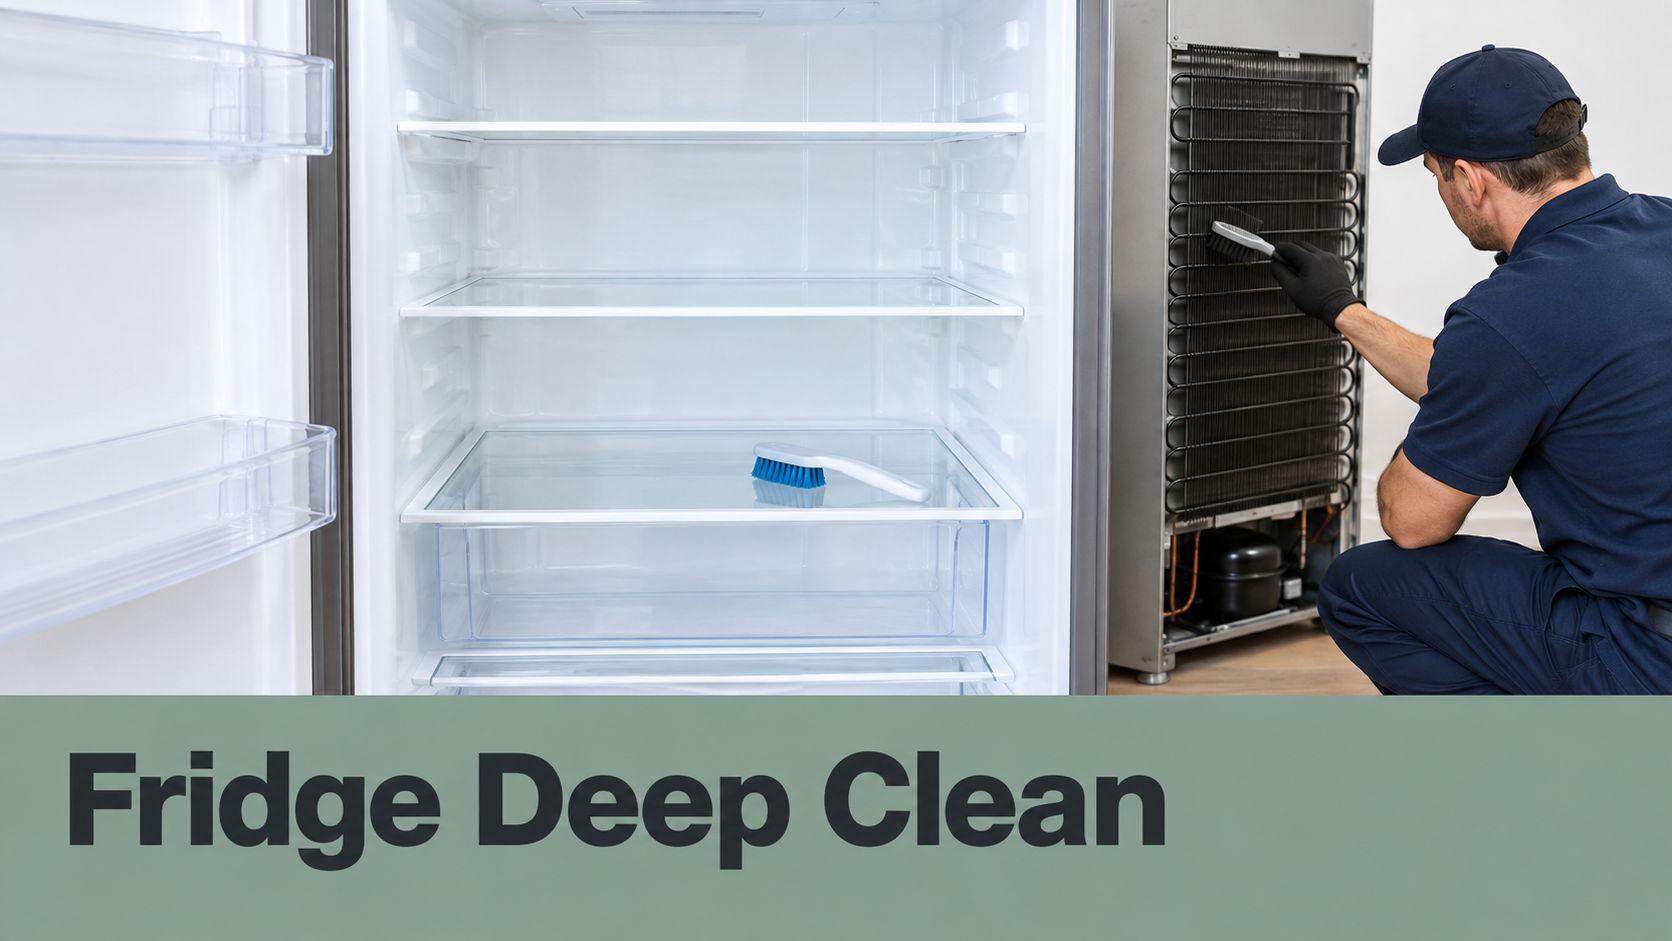
A refrigerator reset combines food safety with appliance care. Work early in the day, when you can remove the contents, discard expired items, and return cold food promptly. Use a cooler for perishable items, and take a quick photo of shelf organization before emptying the appliance if you want to restore the same arrangement.
Remove shelves, drawers, and door bins only when they're safe to handle. Let cold glass warm toward room temperature before washing it with warm soapy water, because a sudden temperature change can damage it. Clean spills from the interior walls, ceiling, floor, drawer tracks, and door seals, paying particular attention to folds where moisture and residue collect.
Clean the parts that control performance
Use a food-safe cleaner suitable for food-contact surfaces, then rinse or wipe according to the product label. Don't spray directly into vents, electronic controls, light housings, or gasket seams. Dry shelves and drawers completely before replacing food, since standing moisture encourages new residue and odors.
The external condenser coils deserve separate attention. Unplug the appliance if the manual requires it, pull it away from the wall only if it can be moved safely, and use a coil brush or vacuum attachment to lift dust without bending delicate components. A coil clean every six months is a practical maintenance target for many homes, subject to the appliance manual.
For additional ideas on overlooked refrigerator surfaces and other household areas, see commonly overlooked things that need cleaning. This reset works well during a rental move-in, after kitchen construction, or before a seasonal food-inventory change.
3. Oven Interior Deep Clean
Oven grime is usually layered. Fresh splatters sit over older grease, carbonized food, and residue baked onto the racks, door glass, sidewalls, and oven floor. Remove racks first and soak them separately, using a tub or large container only if the material and drain can handle the residue.
A paste-style degreaser adheres better to vertical walls than a thin spray. Apply it away from heating elements, vents, seals, and electrical components, and follow the product's instructions for dwell time. The aim is to soften deposits so a non-scratch pad or suitable brush can lift them without gouging enamel.
Treat oven glass and racks separately
Clean the inner and outer door glass with a product approved for the surface. Don't flood the door vents or allow cleaner to pool around the gasket. If the oven has a self-cleaning function, follow the appliance manual rather than layering additional chemicals into the process.
Colorado State University's Food Smart kitchen cleanse checklist recommends removing and scrubbing produce drawers, cleaning oven residue with a vinegar-and-water mix when self-cleaning isn't available, and paying attention to shelves, handles, and gaskets as cross-contamination areas. Its guidance also includes treating garbage disposals with baking soda and vinegar for 15 to 20 minutes, though chemical compatibility and appliance instructions still come first.
Rinse or wipe repeatedly until no cleaning residue remains, then allow the oven and racks to dry fully before use. Foil or an approved oven liner can reduce future mess, but never cover vents or place materials where the manufacturer prohibits them. Add oven cleaning to a post-holiday reset, move-out service, or seasonal kitchen clean.
For households that need help with a larger reset, deep cleaning services can take the oven task out of a move-related or post-construction cleaning schedule.
4. Kitchen Sink, Faucet, and Countertop Crevice Cleaning
The sink is a work zone, not a decorative feature. Food particles collect around the drain strainer, faucet base, overflow openings, seams, and the junction where the counter meets the backsplash. Independent kitchen-hygiene reporting has also identified sinks as one of the most contaminated items in the home, reinforcing the need to disinfect the basin, splash zone, drain area, and reusable cloths during a deep clean. Kitchen hygiene checklist guidance explains why these areas deserve more attention than a quick rinse.
Remove the strainer or stopper and scrub it separately. Use a small nylon brush, old toothbrush, cotton swab, or detail tool for threads, faucet joints, and narrow counter gaps. White vinegar can soften mineral deposits on compatible fixtures, but don't use acidic products on materials that can etch, including some natural stone surfaces.
Match the method to the sink material
Stainless steel generally tolerates a non-scratch cleaner and grain-direction wiping. Granite composite, porcelain, enamel, and natural stone each have different restrictions, so check the manufacturer's care guidance before using vinegar, abrasive powder, bleach, or a strong descaler. Rinse thoroughly after cleaning and dry the faucet and basin to reduce water marks.
Food-contact surfaces should first be washed with hot, soapy water to remove dirt and some bacteria, then sanitized when appropriate. Illinois Extension's cleaning and sanitizing guidance explains this sequence and stresses attention to crevasses and indentations where food can lodge.
Clean faucet aerators monthly if mineral buildup is common in your water supply. If grout borders the sink or backsplash, scrub and dry it thoroughly, then seal compatible grout after it has cured and is completely dry. This task belongs in move-in inspections, rental turnovers, and kitchen organization projects where clean surfaces need to precede new storage systems.
5. Cabinet Exterior and Hardware Deep Clean
Cabinet fronts near the stove often carry a mixture of cooking spray, fingerprints, dust, and dried grease. Cabinet edges, undersides, side panels, hinges, and handles receive less attention than the broad center of each door, so a deep reset should follow the hardware rather than stopping at eye level.
Identify the finish before selecting a cleaner. Painted cabinets may need a mild, low-moisture approach, while sealed wood can require a product designed for its finish. Laminate and thermofoil can tolerate different methods, but excess water can still enter seams and loosen edges. Test an inconspicuous spot, apply cleaner to the cloth rather than saturating the cabinet, and dry as you go.
Don't overlook touchpoints
Remove knobs or handles only if you can label and reinstall them correctly. Soak compatible hardware separately, brush around screw heads and hinge joints, and wipe the cabinet surface beneath each handle. A narrow brush helps remove dust from hinge recesses, while a dry microfiber cloth removes lint after the final wipe.
For wood cabinets, use conditioning products only when the finish permits them. Too much oil can leave a sticky layer that attracts dust, and polishing isn't a substitute for removing grease. Clean the fronts monthly in high-use kitchens, then reserve hinge detail, cabinet sides, and upper surfaces for the deeper reset.
This work suits a kitchen refresh when renovation isn't planned, a move-in service where cabinet condition affects acceptance, or seasonal maintenance before heavy entertaining. Clear one cabinet area at a time if you're also cleaning interiors, so food, dishes, and tools don't remain scattered across already-clean counters.
6. Backsplash and Tile Grout Deep Clean
Backsplashes collect the residue that cooking sends sideways. Tile faces may look clean while grout lines hold oil, dust, and food splashes, particularly behind the stove, beneath cabinets, and near the sink. Start at the upper edge and move downward, allowing loosened residue to fall onto a disposable towel or the counter you still plan to clean.
Use a product made for the tile and grout combination. Ceramic and porcelain usually tolerate more vigorous cleaning than polished stone, glass, or delicate handmade tile. Natural stone can etch when exposed to acidic cleaners, and abrasive tools can scratch glossy or glazed surfaces. Always test a hidden area before treating the full backsplash.
Work the grout without damaging the tile
A narrow grout brush gives better control than a broad scrub pad. Apply the cleaner to the grout line, allow the stated dwell time, scrub gently, and remove the residue with clean water. Steam can help loosen contamination without adding a strong chemical, but it isn't suitable for every grout, sealant, adhesive, or tile installation.
Steam can loosen grime, but it doesn't remove the need to choose a compatible method for the tile, grout, and sealant.
Discolored grout may need repeated gentle passes rather than one aggressive treatment. Mold-like growth, crumbling grout, loose tiles, or persistent staining can indicate a repair issue rather than a cleaning problem. After the grout is clean and fully dry, apply a compatible sealer. Annual grout sealing is a useful maintenance target where the product and installation support it.
This reset makes sense before listing a property, after backsplash installation, during move-in cleaning, or when a rental kitchen needs more than a cosmetic wipe. Keep the counter and floor work for later, since backsplash cleaning produces drips and loosened particles.
7. Interior Pantry and Shelving Organization and Cleaning
A pantry reset begins with removal, not rearrangement. Take everything out of one shelf or cabinet zone, inspect packaging for damage, discard expired products, and set aside duplicates or items nobody uses. Food-storage correction matters in a deep clean because a polished shelf won't solve clutter, spills, or pest access.
Wipe or vacuum crumbs from corners, shelf pins, drawer tracks, and the back wall. Use a lightly damp cloth and a compatible cleaner, then dry the surface before returning food. Avoid placing unsealed containers directly on a shelf if a spill would be difficult to remove.
Build a system that stays usable
Group ingredients by how the household uses them, such as baking, breakfast, snacks, canned goods, or cooking staples. Clear containers can improve visibility, but transfer only products whose labels, allergen information, and expiry details you can preserve. Lazy Susans and tiered shelves help make small items visible, while eye-level storage should go to frequently used products.
- Label categories clearly: Use labels that family members and guests can understand without opening every container.
- Keep heavy items low: Store large bottles, appliances, and dense food where lifting them won't strain shelves or users.
- Photograph the finished layout: Before-and-after photos can make the new arrangement easier to maintain.
- Check the pantry quarterly: Look for expired food, crumbs, damaged packaging, and signs of pests before the area becomes difficult to reset.
This pantry cleaning guide can support the decluttering portion of the task. Pantry work is especially useful after holiday shopping, during a move-in, or when a family is changing its cooking habits. Organization should follow cleaning, not hide residue behind attractive containers.
8. Dishwasher Interior Deep Clean and Filter Maintenance
A dishwasher can leave dishes cloudy or produce an odor when its own filter, spray arms, and door seals carry food debris and mineral residue. Begin by consulting the appliance manual, then remove the filter basket if the design allows it. Rinse it under warm water and use a soft brush to clear the mesh without tearing or distorting it.
Wipe the lower door edge, gasket folds, tub rim, detergent dispenser, and corners where the normal spray pattern doesn't reach. Check each spray arm hole for trapped food particles. A wooden toothpick or soft brush can clear a nozzle, but don't enlarge the openings or force debris deeper into the arm.
Separate cleaning from descaling
A dishwasher cleaner approved for the appliance can address mineral deposits during an empty hot cycle. Vinegar may be appropriate for some machines, but it can damage certain seals or finishes with repeated use, so the manual and product directions should control the choice. Don't combine vinegar, bleach, dishwasher detergent, or commercial descaler in the same cycle.
Clean the filter monthly in a heavily used household, and schedule a descaling cycle quarterly when the appliance and product instructions support it. Inspect the seal whenever the door is open, since a damaged gasket needs replacement rather than more scrubbing. An empty hot cycle can refresh the interior, but it won't compensate for a clogged filter.
This task belongs in a rental move-in, post-construction appliance cleanup, or seasonal reset. If dishes still emerge dirty after the filter and arms are clear, check loading, detergent dosage, water temperature, and the machine's service guidance instead of repeatedly adding stronger chemicals.
9. Microwave Interior Deep Clean and Exterior Polish
Microwave residue often hides on the ceiling, behind the turntable support, along the door edge, and around the ventilation openings. Remove the turntable and ring before cleaning so you can reach the interior floor. A microwave-safe bowl of water heated until it produces steam can soften dried splatters, making a soft cloth more effective than abrasive scrubbing.
Unplug the appliance if the manufacturer recommends it, and never spray cleaner directly into vents, controls, seams, or electrical openings. Spray a cloth instead, then wipe the interior walls and ceiling. Don't use metal tools, harsh abrasives, or excessive water that could damage the interior coating or enter the appliance.
Polish the outside carefully
Wash the turntable separately with warm soapy water and dry it before replacement. Wipe the handle, control panel, door frame, and top surface with a barely damp cloth. Stainless steel exteriors need a non-abrasive product and grain-direction wiping, while plastic panels can haze or scratch when treated with strong solvents.
Clean the interior weekly if the microwave sees frequent use. That short maintenance wipe prevents splatters from becoming a longer restoration job. Check external vents and removable filters where the appliance design includes them, but follow the manual before removing covers or attempting internal work.
A microwave reset fits an appliance maintenance day, a move-in clean, or a kitchen refresh before guests arrive. The water-steam method works well for ordinary residue, but thick carbonized deposits may require repeated softening and wiping rather than a stronger product. If the coating is damaged, replace the component or seek appliance advice instead of scraping it.
10. Flooring Deep Clean and Grout Restoration
Floor cleaning comes last because every upper task can send dust, crumbs, and droplets downward. Move what you safely can, sweep or vacuum under accessible appliances and cabinets, and inspect corners, baseboards, thresholds, and the area beneath the sink for food debris or grease. Dry removal first prevents wet cleaning from turning loose dirt into a muddy film.
Choose the cleaner by flooring material. Tile and sealed vinyl can tolerate methods that would damage unfinished wood, laminate seams, or natural stone. Use a pH-neutral cleaner on natural stone, avoid excess water on wood and laminate, and never assume steam is safe just because a floor looks durable.
Restore grout with controlled moisture
Apply a grout cleaner only where the tile and grout manufacturer permits it. A narrow brush can lift embedded dirt from lines and edges, but aggressive scrubbing may remove loose grout or damage a seal. Rinse or extract residue according to the product directions, then allow the floor to dry thoroughly before replacing mats, bins, or movable appliances.
The cleanest-looking floor isn't finished until residue is removed and the surface has dried completely.
Annual grout sealing can help reduce staining and moisture exposure where the grout is compatible with a sealer. Test the product first, and don't seal damp, damaged, or newly repaired grout. Post-construction kitchens may need residue removal before ordinary mopping, while move-out and seasonal cleans benefit from attention to corners, grout, and floor edges.
Deep Kitchen Cleaning: 10-Task Comparison
Service🔄 Implementation Complexity⚡ Resource & Time Requirements📊 Expected OutcomesIdeal Use Cases⭐💡 Key Advantages & TipsDegreasing Stovetop and Range HoodHigh, multi-step degreasing, careful surface handlingStrong degreasers, PPE, ventilation, several hours for heavy buildupMajor aesthetic & hygiene improvement; reduced fire risk; better ventilationShort-term rental resets; post-construction; move-ins after heavy cookingRestores shine and safety; remove grates to soak, work top→bottom, schedule quarterlyRefrigerator Interior and Coil Deep CleanModerate, interior sanitation plus exterior coil accessFood-safe sanitizers, coil brush/vacuum, time to manage perishablesImproved energy efficiency, odor removal, food-safety assuranceMove-ins, post-construction, seasonal appliance maintenanceLowers energy use and contamination risk; clean coils every 6 months, clean early morningOven Interior Deep CleanHigh, strong chemicals, heating-element care; oven unusable during serviceIndustrial cleaners, soaking racks, ventilation, significant timeReduced smoke/odor, better cooking performance, extended oven lifePre-entertaining refresh, move-out, post-renovationDramatically improves cooking results; soak racks overnight, allow full drying before useKitchen Sink, Faucet, and Countertop Crevice CleaningModerate–High, detail work in tight seams and fixturesSmall brushes, vinegar/descalers, faucet tools, time for crevicesEliminates bacteria/mineral deposits; restores flow and appearanceMove-in inspections, rental turnovers, organization projectsImproves hygiene and flow; clean aerators monthly, seal grout after cleaningCabinet Exterior and Hardware Deep CleanModerate, surface- and hardware-safe techniques requiredFinish-appropriate cleaners, microfiber, hardware labeling tools, timeRefreshes appearance, protects finishes, improves hardware functionKitchen refresh without replacement, move-in, seasonal deep cleanCost-effective visual upgrade; label hardware before removal, apply finish conditionerBacksplash and Tile Grout Deep CleanHigh, material-specific methods and grout sealing requiredGrout cleaners/steam, narrow tools, drying/sealing timeRestores tile appearance, removes mold, prevents grout deteriorationMove-in, post-construction, pre-sale preparationsImproves air quality and aesthetics; test cleaners first, seal grout annuallyInterior Pantry and Shelving Organization and CleaningModerate, cleaning plus organizational planningContainers, labels, shelf liners, time for sorting and labelingReduces food waste, improves access and storage efficiencyNew-year projects, move-in organization, post-holiday resetsBoosts functionality; take before/after photos, use clear containers, schedule quarterlyDishwasher Interior Deep Clean and Filter MaintenanceModerate, disassembly/reassembly of componentsDescalers, tools for filter/spray arms, time for cycles and drainingRestores cleaning efficiency, eliminates odors, extends appliance lifeMove-in checks, post-installation, seasonal maintenancePrevents clogs and odors; clean filter monthly, run descaling quarterlyMicrowave Interior Deep Clean and Exterior PolishLow–Moderate, careful interior cleaning to avoid damageMild cleaners, soft cloths, time for softening/stain removalImproved hygiene, odor removal, polished exterior appearanceMove-in, kitchen refresh, post-construction touch-upQuick appliance refresh; use steam trick to loosen splatters, remove turntable carefullyFlooring Deep Clean and Grout RestorationHigh, material-specific treatments and possible equipmentSteam/chemical cleaners, buffing tools, sealing products, drying timeRestores finish and shine, sanitizes surfaces, prevents mold in groutMove-in/out, post-construction, seasonal restorationExtends flooring lifespan; identify material first, use pH-neutral cleaners, allow full dry before sealing
Keep the Deep Clean From Sliding Back
A deep cleaning kitchen checklist works best as a reset point, not as a promise that the kitchen will stay untouched. Cooking produces new grease, food preparation creates new residue, and wet areas collect moisture again. The practical goal is to make the next clean smaller by handling the right surfaces at the right time.
Wipe the stovetop, hood touchpoints, counter edges, and cabinet handles between deep cleans. Fresh grease is easier to remove than a hardened film, so a short maintenance wipe can prevent the next degreasing session from becoming a restoration project. Keep a microfiber cloth and a material-safe daily cleaner near the kitchen, but store chemicals securely away from children, pets, and food.
Use a schedule that matches the kitchen
Not every home needs the same frequency. A lightly used kitchen may need a full reset every one to three months, while a commercial kitchen may require a deep clean at least every six months, according to zone-based kitchen cleaning guidance. Cooking intensity, household size, ventilation, rental turnover, pets, and pest concerns should influence the schedule.
Keep appliance-specific maintenance separate from the broader reset:
- Clean filters and seals: Check the dishwasher filter, range hood filter, refrigerator gasket, and appliance vents on the schedules recommended by their manufacturers.
- Inspect food storage: Review the pantry quarterly for expired products, damaged packaging, crumbs, and signs of pest activity.
- Protect compatible surfaces: Seal grout and use approved conditioning products only after the surface is clean and fully dry.
- Refresh cleaning tools: Replace or sanitize sponges, dishcloths, and brushes rather than returning contaminated tools to a clean sink or counter.
- Recheck high-touch zones: Handles, knobs, faucet bases, refrigerator pulls, and dishwasher seals deserve routine attention because hands and moisture repeatedly bring residue back.
The microbial side of maintenance deserves more attention than visible shine. One study found that cleaning dishcloths and sponges can carry more bacterial contamination than kitchen surfaces themselves, while a separate 2026 study reported that 91.4% of household kitchen sinks were not thoroughly cleaned and 67.0% of food-preparation surfaces were unclean. Food Protection Trends research supports including cleaning-tool sanitation, sink drains, and sanitizer rotation in the reset rather than treating the sponge as automatically clean.
Know when a wipe-down isn't enough
A wet rag may remove loose dust, but it often leaves grease behind. A 2026 study found that the most common surface-cleaning method was a wet rag, while only 19.2% used detergent with warm water, a method better suited to removing grease residue and reducing microbial load. The PLOS ONE household food-safety research also found evidence of pest infestation in 65% of inspected homes, reinforcing the need to inspect pantry storage, food containers, and hidden floor areas when conditions call for more than routine cleaning.
Use detergent and warm water when a surface is greasy, then rinse or wipe away residue before sanitizing. Food-contact surfaces should be cleaned before they're sanitized, not sprayed with disinfectant over visible food soil. Illinois Extension gives a concrete sanitation mixture of 1 tablespoon of regular, unscented household bleach per 1 gallon of water, or 1 cup per 5 gallons, and advises submerging pans, dishes, glassware, and utensils for 15 minutes when that method is appropriate. Follow the product label and never mix bleach with vinegar, ammonia, or other cleaners.
Disinfectants also need the correct contact time. The U.S. EPA explanation of cleaning, sanitizing, and disinfecting says to follow label directions and keep the surface wet for the full contact period specified. If a surface dries too soon, reapply according to the label rather than assuming a quick spray has completed the job.
Material safety remains just as important as sanitation. Test products on hidden areas, use pH-neutral formulas for natural stone, limit moisture on wood and laminate, avoid abrasives on coated appliances, and let treated surfaces dry before food, dishes, or foot traffic return. When a range hood is saturated with grease, a refrigerator needs a complete food-safety reset, or renovation dust has reached every cabinet and appliance seam, professional help can reduce the risk of missed areas.
Sweet Home Cleaning Service provides one-time and recurring residential cleaning, deep-clean services, move-in and move-out cleaning, post-construction cleanup, commercial cleaning, and home organization. Its service area includes Fairhope, Daphne, Spanish Fort, Orange Beach, Gulf Shores, and neighboring communities on Alabama's Eastern Shore and South Baldwin County. That combination can be useful when a kitchen needs both physical cleaning and a storage system that makes maintenance realistic.
A clean kitchen should be easier to use after the reset, not merely brighter for a day. Keep the high-grease areas under control, maintain filters and seals, inspect food storage, sanitize cleaning tools, and match every product to the surface it touches. With those habits in place, a full deep clean becomes a manageable maintenance event instead of an emergency response to months of hidden buildup. For related routine care, this monthly cleaning checklist can help keep coffee tasting fresh.
Sweet Home Cleaning Service offers one-time and recurring deep cleaning, move-in and move-out cleaning, post-construction cleanup, and home organization for kitchens and other living spaces. Visit Sweet Home Cleaning Service to arrange a kitchen reset that matches your home, schedule, and cleaning needs.

Let us handle the cleaning. Enjoy your home.


Sweet Home Cleaning Service
19940 State HWY 181, Suite E Fairhope, AL 36532
Phone: (251) 586-4081
sales@sweethomecleaningservice.com